July 24th, 2022

Creating a Home Photography Studio
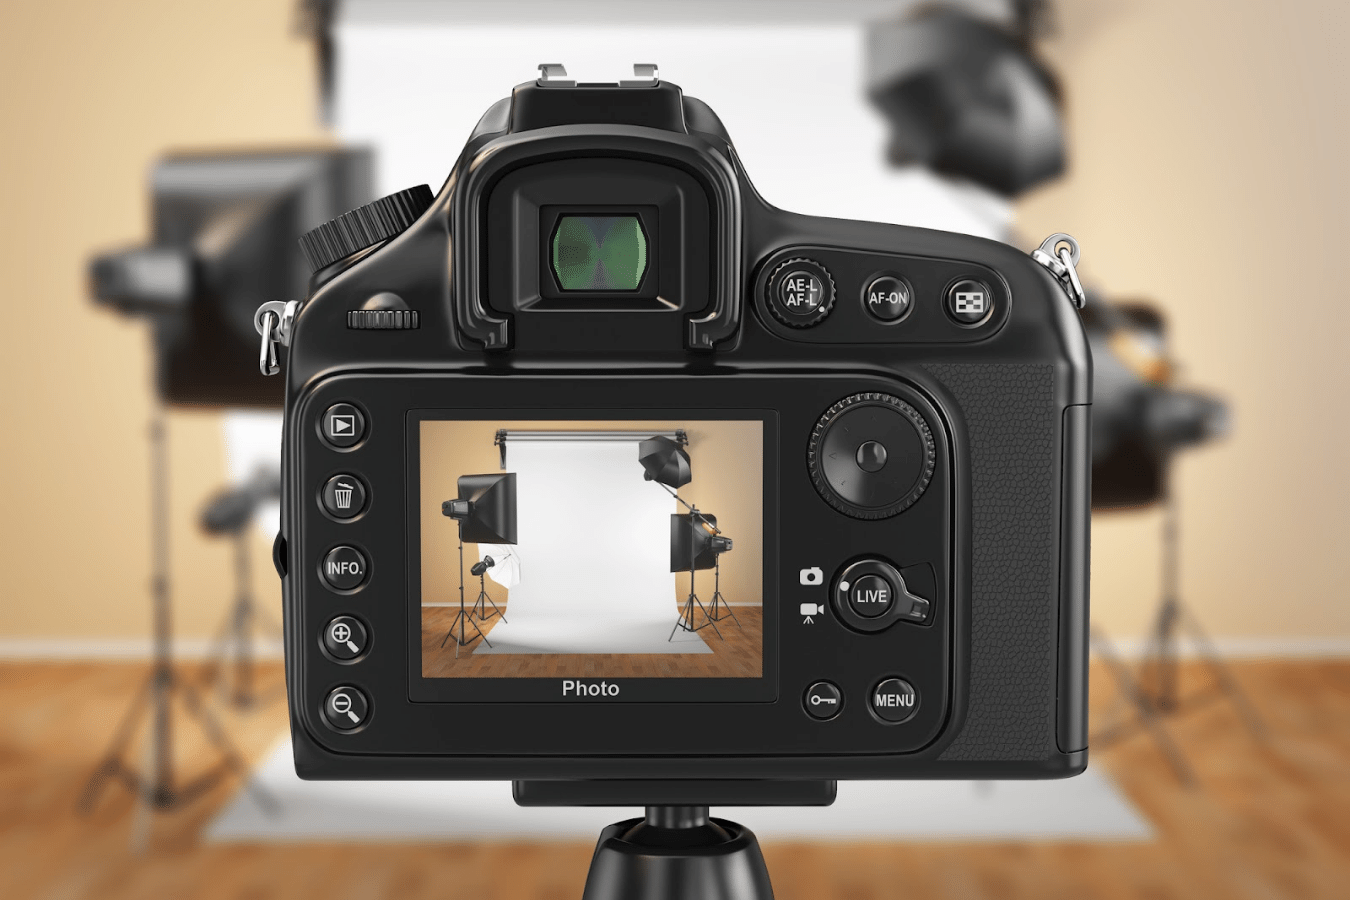
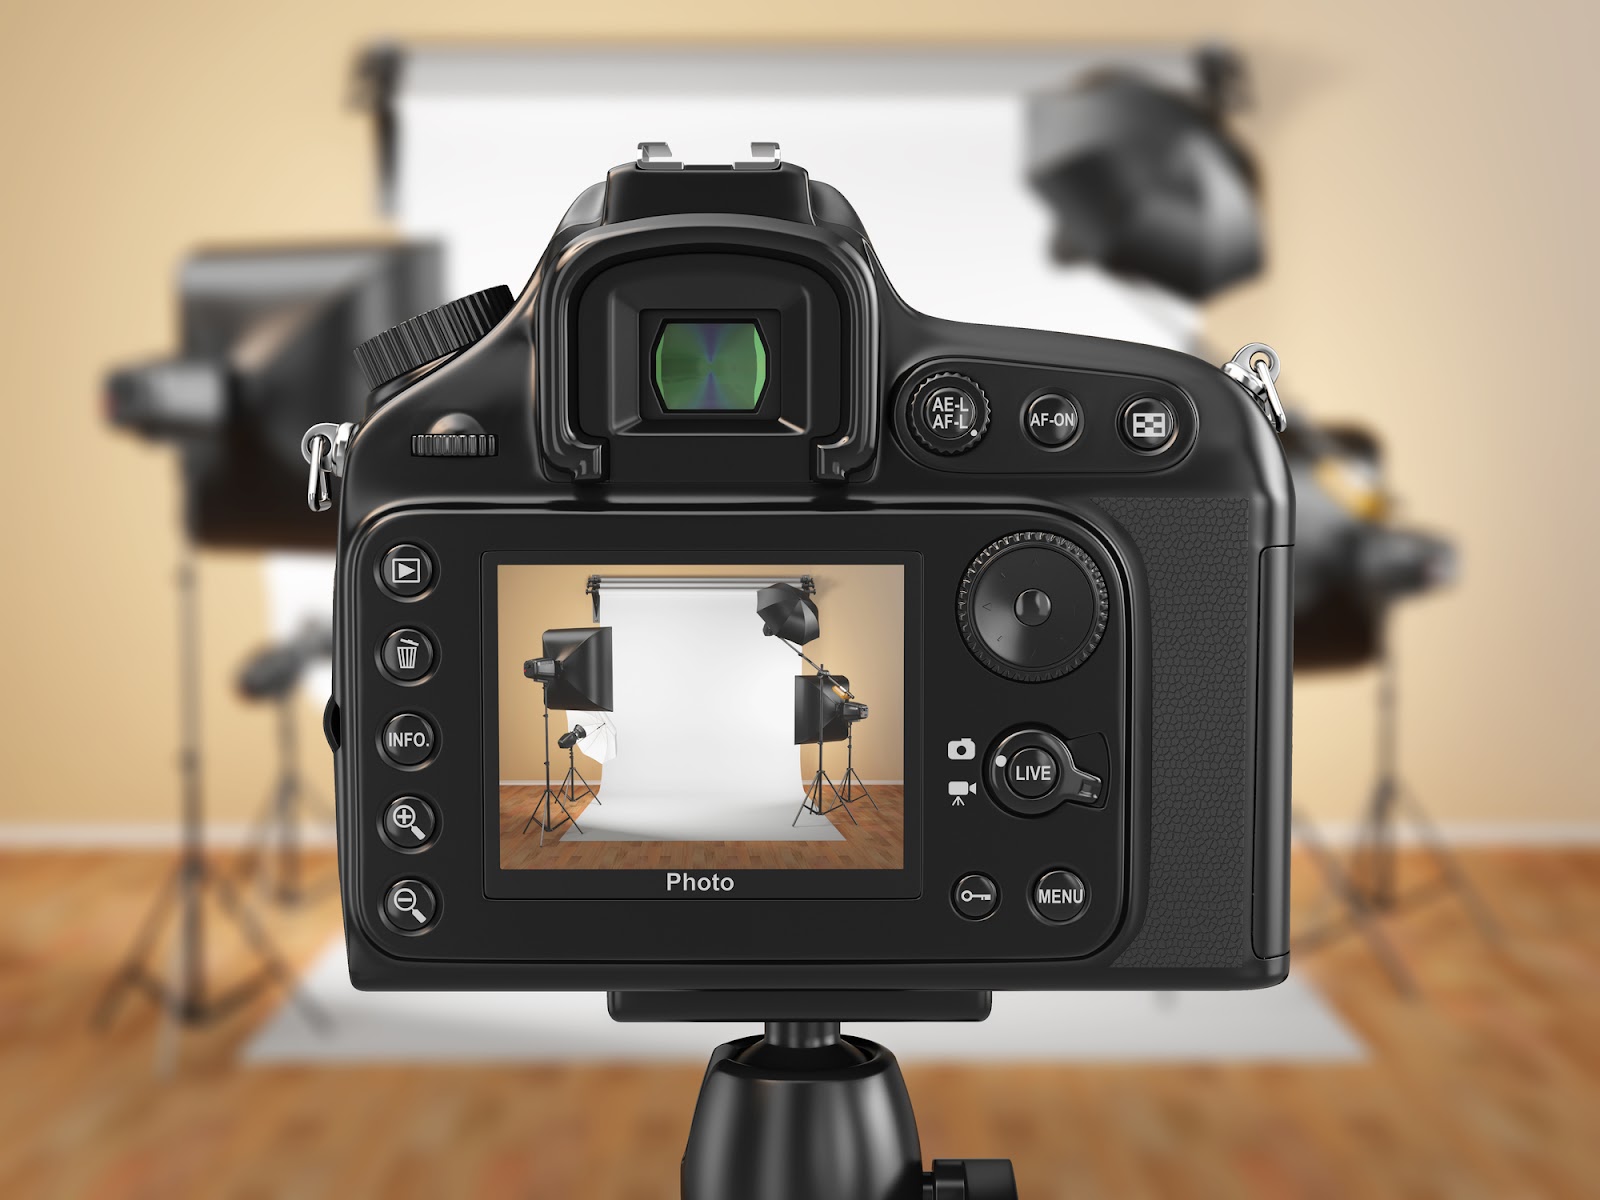
Photography is a fun and accessible hobby with a wide range of real-world applications. Getting started can be as simple as taking a photo on your mobile phone, but establishing a dedicated space for photography in your home can help you consistently produce high-quality pictures without professional help. By creating a home photography studio, you can give yourself a comfortable, customized space where you can hone your skills and do the best work possible.
If you’re buying a newly constructed home, you could designate areas for your darkroom and studio in advance to ensure that you’ll have all the space you need. If you’re moving into an older home or rental unit, creating a suitable studio space for yourself may require additional creativity.

Regardless of your living situation, there are several important things to keep in mind when you’re planning a home photography studio. Here, we will discuss how to begin planning your studio, describe the equipment you’ll need, and explain how to create an optimal environment for photography in your home.
Preparation and Planning
The first step in planning your home photography studio is to select a room or area of your house that will suit your needs. Depending on your desired setup, a single section or corner of a room may provide sufficient space. When choosing an area for your studio, the two most important considerations are space and lighting.
The exact amount of space you’ll need for your studio depends on the equipment you’ll be using and the types of photoshoots you want to conduct. Ideally, the area you designate should have ceilings that are at least 10 feet high, which will ensure that you have enough vertical space to properly set up equipment for standing body shots. The area should also be large enough to allow for sufficient distance between your camera and subjects. Shooting in a room that is too small can limit your depth of field and adversely affect the quality of your images.
If possible, the room you select for your photography studio should also have enough windows to provide adequate natural light. Choosing a naturally well-lit room for photoshoots will help you save energy on artificial lighting and allow you to take advantage of the unique soft light created by sunrise and sunset. While natural light and studio light photography each have their advantages, choosing a studio space with a good natural light source will give you the flexibility to enjoy the benefits of both.
Setup
Once you’ve selected a suitable spot for your home photography studio, the next step is to start setting up. This process typically involves procuring equipment and designing the layout of the space. The optimal studio setup for you will vary depending on the lighting in your home and the type of photography you want to do
Different photography styles like product and portrait photography utilize different types of equipment and studio arrangements. To get the most out of your home studio, it’s critical to choose a setup that’s appropriate for your home and compatible with your photography style.
Equipment
The equipment you use in photography can have a major impact on the quality of your images and your overall experience. The ideal equipment for your home studio depends on your commitment level, your budget, and the type of photography you plan on doing. There are several types of equipment commonly used in photography:
Lights
Lighting is hugely important to all types of photography. The lights you use in your home studio can help you create unique visual effects and improve the overall quality of your images. There are several different types of studio lights that home photographers can choose from:
- Fluorescent: Commonly used in portrait and product photography, fluorescent lights are energy-efficient, affordable, and will not overheat. This combination of factors makes them a common choice for home photography studios. Fluorescent lights are traditionally white but are also available in other colors including red, yellow, and green.
- LED: Commonly used in portrait and nature photography, LED lighting is another popular choice for home photography studios. Similar to fluorescent lights, LED lights are affordable and do not overheat. LED lights are made in a wide variety of different colors and can be easily changed, which makes them useful for adding visual effects to photos.
- Tungsten: Commonly used in portraits and still-life photography, tungsten bulbs produce a warm, golden light that is similar to traditional house lamps. Tungsten lights are relatively popular in photography, but can overheat and are less efficient than LED and fluorescent lights.
- Strobes: Popular for product and commercial photo shoots, strobe lights are used to create short bursts of powerful light. Strobes are affordable and produce a brighter light than traditional flashes. When choosing strobe lights, it's important to keep the size of your studio in mind, as they can overexpose or “wash out” the image if their wattage is too high.
- Flashes: Used for illuminating dark scenes, flashes emit a short burst of light. Many cameras come with built-in flash units that activate automatically, but photographers can also attach separate flash units to their cameras using mounting brackets. When selecting a flash unit, it's important to choose one that is compatible with your camera and suitable for the size of your studio.
- Reflectors
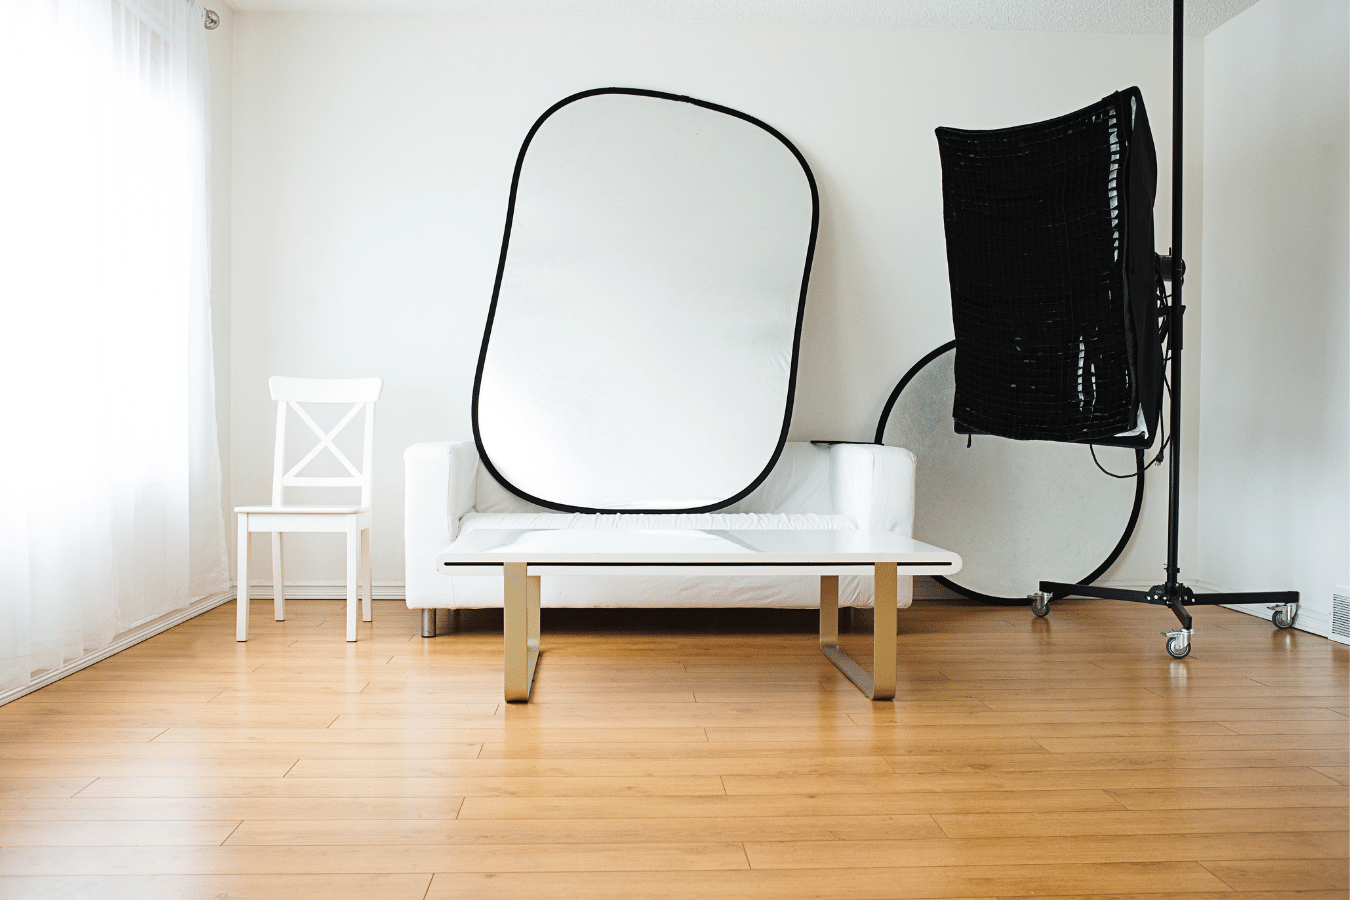
Reflectors are devices used to harness and redirect existing light in photography. Some types of reflectors absorb light while others simply change their direction. Using reflectors can be an affordable way to manipulate light and create interesting effects in your images. There are four main types of reflectors used in photography, and each has its unique properties:
- Silver: Silver reflectors are very common in studios because they reflect the most light of the four types. These reflectors don’t alter the color of the light they redirect, which makes them a popular choice for portrait photography.
- Gold: Gold reflectors create light with a distinctly yellowish hue, which makes them ideal for shooting by sunlight, but less versatile than silver. These reflectors are best suited for outdoor photography, as the color they create can be harsh if it’s used with indoor lighting.
- Black: Unlike the other types, black reflectors are designed to absorb light rather than redirect it. They are ideal if you are shooting in an area with too much light. Black reflectors are commonly used in ‘reflection’ or ‘mirror’ photography.
- White: While they catch and redirect less light than silver, white reflectors produce a clean soft light that is appropriate for a wide range of settings. These reflectors can be used for both indoor and outdoor photography.
Modifiers
In addition to reflectors, there are several other tools that photographers can use to control the lighting in their photos. These devices, known as modifiers, are freestanding, handheld, or attached to cameras. There are several types of modifiers that you could use to achieve different effects in photos:
- Light shapers: Light shapers are devices that alter the form of light. You can fit these devices onto studio lights and use them to bend light in a variety of different ways. There are several types of light shapers used in photography: Barndoor light shapers create the effect of light shining through an open door, grids help focus light to improve contrast and image clarity, and snoots narrow the light beam to create a dramatic spotlight effect.
- Diffusers: Diffusers soften the light. In photography, they are translucent materials placed between the subject and the light source. They work by spreading light over an area wider than the original source. This helps to reduce harsh shadows from off-camera lighting. Diffusers in photography are commonly made from plastic, acrylic, fabric, or gel.
- Lens filters: Lens filters alter light in a wide variety of ways. They can alter the characteristics of light, add effects, or enhance specific colors in an image. These filters can be made of either transparent glass, translucent glass, or gelatin. Some of the most common types include UV filters, polarizing filters, close-up filters, and neutral density filters.
- Light Stands
Photographers use light stands in photography to support and organize lighting arrangements. They help photographers adjust their cameras to find the ideal lighting and keep their subjects properly illuminated during shoots. There are two main types of light stands used in photography: general-purpose stands and c-stands.
General-purpose stands are lighter, cheaper, and easier to store, making them a popular choice for home studios. C-stands are heavier duty and hold more weight, but can be more expensive. Because of their strength and stability, c-stands are ideal for shooting outdoors and supporting backgrounds.
Backdrops
Backdrops are a relatively simple way to improve the quality of your photographs. The backdrop you choose can set the stage for your subject and determine the overall atmosphere of your photo. The ideal backdrop for your studio depends on the type of photography you’ll be doing. Backdrops are typically made from one of six different materials, each with its unique properties:
- Seamless paper: These backdrops are smooth and non-reflective, but are relatively easy to wrinkle or damage. Seamless paper is commonly used to create solid color backgrounds.
- Microfiber: Commonly made from polyester, microfiber backdrops are easy to store and transport without being damaged. Microfiber backdrops often come in a wider range of styles than seamless paper, such as patterns and printed images.
- Canvas: Similar to microfiber, canvas backdrops are durable and smooth. These backdrops are ideal for painting or dyeing, as canvas can easily absorb and hold paints, dyes, and oil without running or smearing.
- Vinyl: Vinyl backdrops are durable, flexible, and wrinkle-proof, making them very easy to clean and store. They also work well for digital printing and can be used to display a range of different patterns. While vinyl is a shiny material, most quality vinyl backdrops have a distinct non-reflective matte finish, which helps prevent glare.
- Muslin: Muslin is a term for plain woven 100% cotton. It is commonly used for more traditional solid-colored backgrounds but is easy to dye. Muslin backdrops are lightweight and can be used as a more durable alternative to paper.
- Rubber mats: Rubber mats are placed on the floor to make them match the background of a photo. They are thin, easy to store, and can be digitally printed with a variety of patterns and images to match the backdrop you’re using.
Choosing a backdrop is a fun and easy way to create a unique style for your photoshoot. If you plan on doing different types of photography in your home studio, it will likely be beneficial to keep more than one of these backdrop materials on hand. Busier individuals may want to consider purchasing a studio kit to acquire all the necessary materials more quickly.

Studio Kits
If you’re just getting started with photography, procuring all the right equipment and materials for a home studio may seem very daunting. For newer photography enthusiasts who want to get started quickly but don't feel like researching and shopping for individual items, studio kits can be an effective time-saving option.
These kits contain all the important items you’ll need to get your home photography studio up and running, such as light stands, backdrops, and modifiers. There is a wide range of studio kits available, and the best one for you depends on your experience level and the type of pictures you intend to take. Kits that are designed for specific types of photography will come with specialized lighting and backdrops, while beginner kits are more affordable and will provide you with essentials like adjustable lightweight stands and efficient fluorescent lighting.
Creating a Darkroom at Home
If you plan on using film photography in your home, it may be helpful to create a darkroom alongside your normal studio space. Darkrooms are essential for properly developing traditional film, but setting up and operating a darkroom requires the right equipment and a suitable space.
Darkroom Basics
The first step is to choose a location for your darkroom. This should be a light-tight room with adequate ventilation and enough outlets to support the equipment you’ll need. If you’ve been living in your home for a while, you may already have a suitable area in mind. If you’re shopping for a new home, there are several things to look for when buying a house that can indicate a good location for a darkroom, such as a finished basement and lots of closet space. The area you choose should also have enough space to store your film and developing trays.
Setting Up
When setting up your darkroom, the priority is to make sure no light can get into the space, as exposure to light can cause a photochemical reaction that compromises the film. Once you’ve done this, it’s time to assemble your equipment. There are several pieces of equipment that are essential to any darkroom:
- Safelight: A special kind of light fixture that emits light from an area of the spectrum that will not harm photosensitive materials.
- Developing tanks: Light-proof cylindrical containers are used to protect the film from exposure as it develops.
- Enlarger: A specialized device used to generate photographic prints from film negatives. The two main types of film enlargers are condensers and diffusers.
- Easel: Used to hold the photo printing paper while it is being exposed. These can be bought in preset formats or customized to fit your photos.
- Developer: A high-acidity chemical solution is used to properly develop the film. Some of the most common chemical developing agents are hydroquinone, phenidone, and demizone.
- Stop bath: An acetic-acid-based solution that neutralizes the acid in the developing agent.
- Fixer: A sodium thiosulfate or ammonium thiosulfate-based solution is used to remove unexposed silver halides in the film. This process prevents the film from becoming damaged by light.
- Processing Trays: Shallow trays hold the film as it is chemically developed.
Wet and Dry Areas
Separating the wet and dry areas of your darkroom is essential for keeping the space organized and preventing chemical damage to your film. All chemical mixing, paper processing, and photo developing should be done on the “wet side” of the room. The “dry side” should be reserved for cropping paper, handling dry negatives, making exposures, storing miscellaneous items, and any other activities that do not require liquid solutions. Keeping these areas separate will help ensure the most consistent results possible.
Tips for a Small-space Photography Studio
Even if your home doesn’t have much available space, starting a home photography studio may still be possible. Creating a studio in a smaller space can be challenging, but it can be done if you take the right steps. The following measures will help you successfully operate a small space photography studio:
- Minimize extra light: If you’re shooting in a smaller room, less light is needed to sufficiently illuminate your subject. Using too much light in a small space can cause photos to become overexposed. Being conservative with your lighting can help you avoid this problem as well as save energy.
- Buy equipment for the space: The equipment you use will likely take up a significant amount of space in your studio. If you have a smaller studio, it's important to choose equipment that fits the space, such as lightweight stands rather than heavier-duty c-stands. This can help you avoid storage issues and free up more space for photographing subjects.
- Utilize vertical storage: When possible, storing your photography equipment on shelves or in containers that can be stacked vertically will allow you to store more equipment with the same amount of space.
Tips for the At-home Photography Business
If you want to pursue your passion for photography even further, it may be worth it to start a home photography business, either on the side or as a full-time job. Operating an at-home photography business can offer you a flexible schedule and an opportunity to make money doing what you love, but it’s important to do your research before you begin. If you’re considering starting an at-home photography business, several measures can improve your chances for success:
Keep your home clean: Keeping a clean home can help your business build a positive reputation and leave a good impression on clients who come for photoshoots.
Provide amenities for clients: Providing amenities for your clients is another measure that can garner positive reviews and help build customers. These can include food/drinks for clients to enjoy while they wait, extra seating, or designated mirrors for clients to check their appearance before being photographed.
Study your market: Before you launch your photography business, it's important to make sure there’s a viable market in your area. If you live in a rural or less populated region, it may be more difficult to turn a profit. If you live in a small market area but are still determined to start a photography business, you may consider selling your home and buying property in Charlotte or another major city where there’s more of a marketplace for your photography. Shopping for a home is easier today than ever before, and moving to a larger market can have significant benefits for your business.

Ryan Fitzgerald
Hi there! My name is Ryan Fitzgerald, and I am a REALTOR®. My goal is to help you learn more about real estate through our Real Estate Blog! Hopefully, you enjoyed the above blog post and it found a way to provide help or value to you. When you're ready to buy or sell a home of your own let us know here. Please feel free to join the conversation by dropping us a comment below.

